
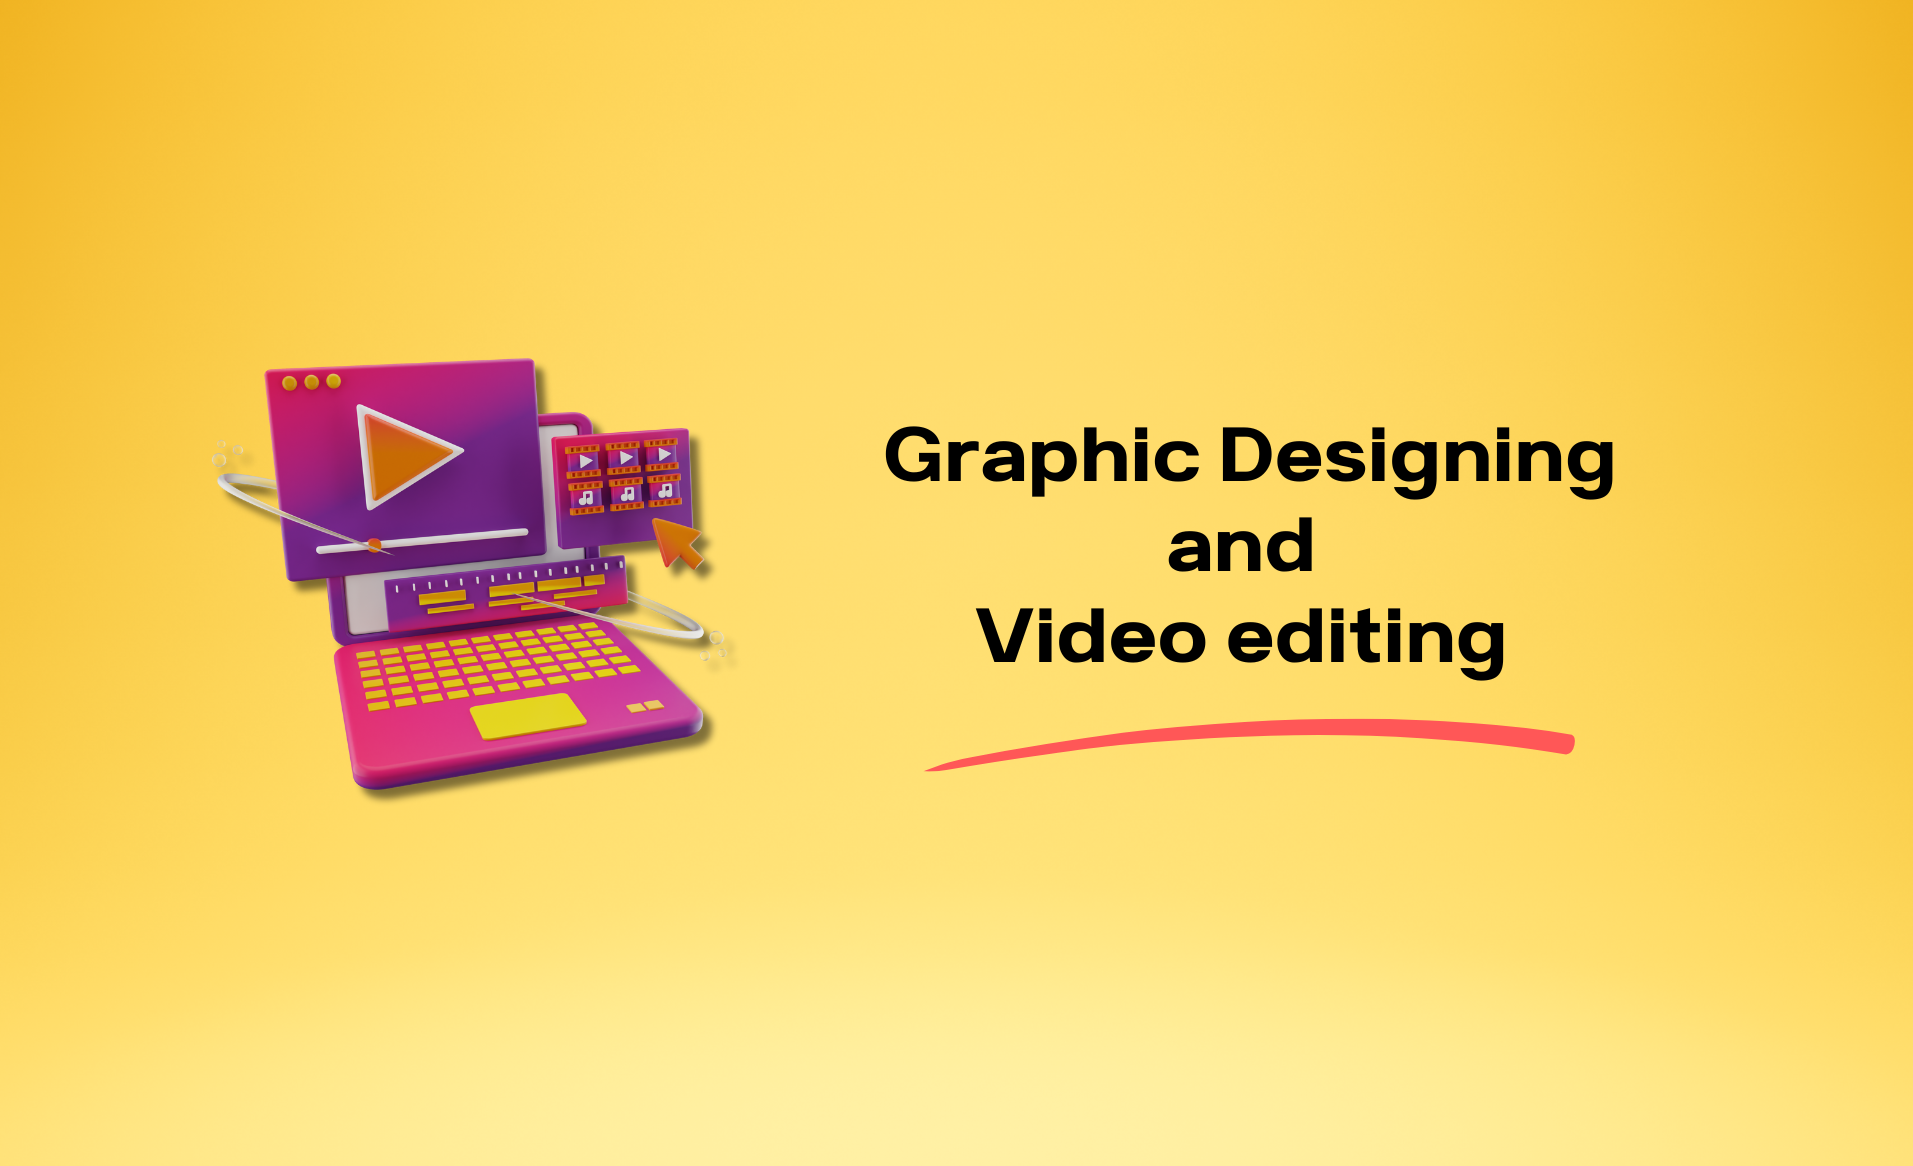
How To Use Graphic Design And Video Editing Software: Getting To Know Basic Tools And Features
Introduction
Graphic design and video editing software have turned out to be an immense tool for artists, photographers, web developers, and other professionals either to improve or just enhance work. The software lets you create or edit pictures, design logos and branding, and even develop web design templates. Let's draw a parallel with other tools such as fonts, illustration, motion graphics, and document creation software, mostly integrated into one creative suite. You can also use them to make shareable files for your designs and videos. These tools can be used by anyone, from beginners to professionals. Once you get a hang of them, you can create and edit visuals a lot quicker than one would with any other method.
How to Begin
Before proceeding further, one must configure the workspace of their graphic and video software so that it best resembles what they are used to. Everything can be locked down so that it feels like a traditional workspace, or the panes can float to give it more movement and flexibility. There is also the choice of a workspace template, which is most commonly determined by the particular version of software. And left-hand designers can be grateful that the way sub-menus appear on-screen can also be changed at whim when, for example, screen space demands that sub-menus appear to the left of main menus rather than their default location to the right.
Using Layers
The layers feature in graphic design and video editing software enables one to include many different elements in one file to achieve a desired effect. You can have multiple layers to place photos on top of or alongside one another, add text, even include video or animation to create a comprehensive visual. Layers are very useful during editing because they allow removal or change of parts without affecting the whole image. If this project had been done in layers, there would not be any need to redo lots of work—for example, when one needs to just change the text or the logo.
Renaming each layer helps in keeping track of different elements of your work, and thus you know which layers to show and which to turn off to achieve the effect of your work. It enables one to select an image within a layer; then one is at liberty to drag and drop this image into any other areas on the canvas or change the layer properties. You can duplicate existing layers to create variations of the same layer style.
This helps, for example, when you want to have some text versions that would have the same beveled edge settings and drop shadowing but different layer color schemes. You can just switch these layers on and off to generate, not to mention save different images, in one single file. In the long run, it saves you some time creating and editing the images.
Grids and Smart Guides
These tools are available through grid and smart guide tools in graphic design and video editing software. Grids are floating lines that give you a sense of where to place the different elements in your image. They won't become part of the permanent image, nor will they print. Smart guides, when activated, let you "snap" items into place on the canvas. You can also use them to make sure the spacing between objects is consistent.
Popular Blogs
FULL STACK DEVELOPMENT
36 Hours ago

DATA ANALYTICS WITH AI
36 Hours ago

PYTHON
48 Hours ago

DIGITAL MARKETING WITH AI
48 Hours ago